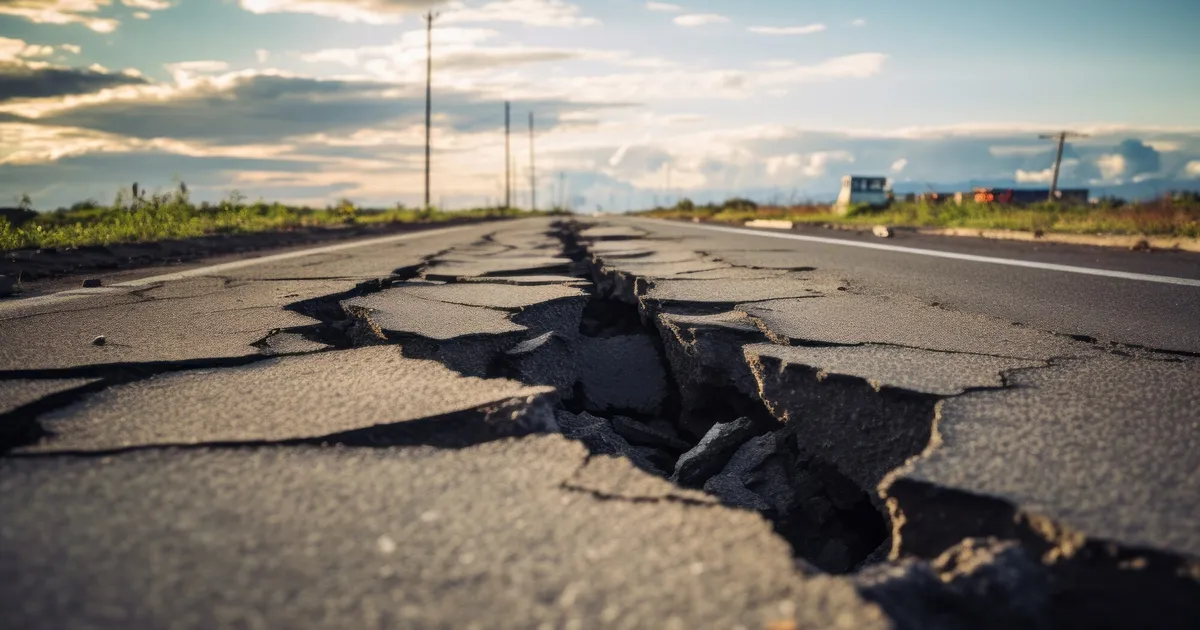
Earthquake Preparation at Home: A US Guide for Seismic Zones 2026
Build your personal emergency plan
Free, no sign-up, takes 5 minutes.
If you live in California, the Pacific Northwest, Alaska, or anywhere along the New Madrid Seismic Zone, the question isn’t whether you’ll experience a major earthquake. It’s when.
The 1906 San Francisco earthquake killed 3,000 and destroyed 80% of the city. The 1989 Loma Prieta killed 63 and caused $5 billion in damage. The 1994 Northridge killed 60 and caused $40 billion. The 2011 Virginia earthquake (M5.8) cracked the Washington Monument and damaged the National Cathedral. None of these are the “Big One” that USGS estimates is overdue for both California and the Pacific Northwest.
This guide covers what actually works: the home preparation, the kit, the drop-cover-hold-on protocol, what to do in the first 60 seconds, and the recovery phase. Based on FEMA, USGS, and Cal OES guidance.
Why earthquake preparation is unique
Other disasters give warning. Earthquakes give 0-90 seconds via early warning systems (ShakeAlert in California, Oregon, Washington — sometimes more). For practical purposes, you must assume zero warning.
Unique characteristics:
- No warning to evacuate
- Building damage can trap occupants
- Utility failure (gas, water, electricity) often follows
- Aftershocks continue for weeks
- Tsunami risk in coastal Pacific areas
- Landslides and liquefaction in vulnerable terrain
- Infrastructure damage isolates communities
Preparation must be done BEFORE the event because there’s no time after it starts.
Securing your home BEFORE an earthquake
The single biggest cause of injury in a major earthquake isn’t building collapse — it’s falling objects. Bookshelves, water heaters, TVs, kitchen items, art on walls, furniture. Most of this can be secured cheaply.
Items to secure with straps or brackets
- Water heater — strap to wall studs. Required by code in California; should be done in any seismic zone. Cost: $30-60 for kit, professional install $150-300.
- Tall bookshelves — strap to wall studs. Anti-tip brackets ($10-20 each).
- Heavy mirrors and art — earthquake-rated hangers, not standard nails.
- TV — anti-tip strap to wall ($15-25).
- Kitchen cabinets — childproof latches keep contents inside during shaking.
- Refrigerator — strap to wall (cabinet straps work).
- Dressers — anti-tip brackets.
Cost to secure a typical home: $50-200. Time: an afternoon. Lives saved: potentially yours.
Layout considerations
- Don’t put bed under heavy hanging items (mirrors, large picture frames, unsecured shelves)
- Don’t sleep under windows if possible (glass shatters)
- Keep walking paths clear (clutter trips you in dark, post-quake conditions)
- Sturdy shoes by bed (broken glass everywhere after major event)
- Flashlight bedside (pre-tested batteries)
Utility shutoffs
Know how to shut off gas, water, and electricity at the source:
- Gas: Wrench at the meter. Quarter-turn rotation. Once off, requires utility company to restart (could take weeks after major event). Only shut off if smell gas, hear hissing, or see structural damage.
- Water: Main valve usually inside garage or crawlspace. Quarter-turn ball valve.
- Electricity: Main breaker in panel. Throw to OFF.
Practice each of these. Find the wrench you’ll need for gas. Tape it to the meter pipe.
The earthquake kit
Standard 72-hour kit PLUS earthquake-specific items.
Standard 72-hour content
- 1 gallon water per person per day, minimum 3 days (14 days preferred for major event)
- 3 days of food (no-cook, no-fridge)
- LED flashlight + headlamp + extra batteries
- 20,000 mAh power bank, charged
- NOAA weather radio
- First aid kit (Adventure Medical or similar)
- Multi-tool
- Cash ($200 in small bills)
- Documents copies in waterproof bag
Earthquake additions
- Sturdy shoes (close-toed, ankle support — broken glass everywhere after major event)
- Heavy work gloves (debris is sharp)
- N95 or P100 dust masks (concrete dust contains silica — long-term lung hazard)
- Wrench for gas shutoff (if not already attached to meter)
- Whistle (for signaling if trapped)
- Crowbar or pry bar (for moving debris if a household member is trapped)
- Plastic sheeting and duct tape (temporary repairs to broken windows)
- Copy of insurance policy
- Photos of every room (insurance documentation, before earthquake)
- Out-of-state emergency contact (long-distance often works when local cell is down)
For each family member, in their bedroom
- Sturdy shoes
- Flashlight
- Whistle
- Dust mask
- Spare glasses (if applicable)
These items at the bedside save you in the dark, immediately after waking to a quake.
During the earthquake: Drop, Cover, Hold On
This protocol is from FEMA, USGS, Red Cross, and every major US emergency authority. It is consistent across all sources because it works.
Drop
Drop to your hands and knees BEFORE the shaking knocks you down. This protects you from being thrown.
Cover
Cover your head and neck with one arm. If a sturdy desk or table is within a few steps, crawl under it. If not, crawl next to an interior wall away from windows.
Hold On
If under furniture, hold on to it (it will move with the shaking). Stay until shaking stops, then count to 10 before moving.
What NOT to do
- DO NOT stand in a doorway. Modern doorways aren’t structurally stronger than other parts of the house. The slamming door can break your arm, ribs, or face.
- DO NOT run outside during shaking. Most injuries happen from falling debris near building entrances.
- DO NOT use elevators. Period.
- DO NOT light matches or candles after. Gas leaks could cause explosion.
- DO NOT use lighter or smartphone flashlight to check for gas. Sparks ignite leaks. Use only sealed flashlights.
Special situations during earthquake
- In bed: Stay in bed, cover head with pillow, stay until shaking stops.
- Outdoors: Move to clear area away from buildings, trees, power lines. Drop, cover head.
- Driving: Pull over (away from overpasses, bridges, power lines). Stay in vehicle. Wait for shaking to stop.
- In stadium/auditorium: Stay in seat. Cover head with arms. Don’t try to leave during shaking.
- In wheelchair: Lock wheels. Bend over and cover head.
- Near coast: Move inland and uphill IMMEDIATELY after shaking stops (tsunami can arrive in minutes).
Immediately after (first 60 minutes)
- Check yourself for injuries. Treat the most serious first.
- Check household members. Triage: severe bleeding, unconsciousness, breathing difficulty.
- Put on sturdy shoes. Glass everywhere.
- Check for fire. Smell for gas. If yes, shut off gas at meter.
- Check structural damage. Sagging ceilings, cracked walls, leaning structure = leave immediately.
- Don’t use phone except for emergencies. Texts get through when calls don’t.
- Listen to NOAA Weather Radio for official updates.
- Be ready for aftershocks. Often within minutes, can be nearly as strong.
First 24 hours
- Coordinate with family using out-of-state contact (long-distance phone often works when local doesn’t)
- Document damage with photos before any cleanup (insurance)
- Inspect home (or have it inspected) before re-occupying
- Avoid damaged areas in town
- Conserve water, food, and battery
- Don’t drink tap water until officials confirm safe
- Don’t flush toilets if sewer lines may be broken
First week
- File insurance claim
- Boil water until utility confirms safety
- Watch for aftershocks
- Help neighbors who need it (search-and-rescue, supplies, comfort)
- Document everything for FEMA disaster aid if applicable
- Prepare for extended utility outage (water, gas may be days/weeks)
Specific risks by region
California
- Most active state for earthquakes
- ShakeAlert system gives 0-60 second warning via app
- Major faults: San Andreas, Hayward, San Jacinto, Newport-Inglewood
- Liquefaction risk in bay fill areas (San Francisco, Oakland, San Jose)
- Tsunami risk along entire coast
Pacific Northwest (Cascadia Subduction Zone)
- Potential for magnitude 9.0+ event
- Last major event: 1700 (M9.0)
- 100-200 year average recurrence
- Tsunami risk along coast (10-30 minutes warning)
- Significant ground shaking expected for 4-6 minutes (versus 30-60 seconds for California events)
- Recovery infrastructure (bridges, fuel) likely damaged for months
Alaska
- Most seismically active state
- 1964 quake was M9.2 (largest in US history)
- Sparse population in many at-risk areas means longer rescue times
- Tsunami risk
- Cold weather complicates aftermath
New Madrid Seismic Zone
- Missouri, Tennessee, Arkansas, Kentucky, Illinois
- 1811-1812 quakes were M7.5+ — largest in eastern US history
- USGS estimates M6.0 likely within 50 years
- Most residents UNPREPARED because risk is poorly understood
- Infrastructure not built to seismic standards
Building tsunami awareness (Pacific Coast)
If you live within 1-2 miles of the coast in CA, OR, WA, AK, HI:
- Know your tsunami evacuation zone (usually marked with signs)
- After any earthquake that lasts more than 30 seconds, move INLAND and UPHILL immediately
- Don’t wait for official tsunami warning — you may have 10-30 minutes
- Move on foot; roads will be clogged
- Get to high ground (50+ feet elevation) or several miles inland
Mistakes to avoid
1. Waiting until you live somewhere risky to prepare. “We don’t have earthquakes here” — until you do.
2. No water heater strap. Most common building damage and gas-leak source in California.
3. Storing the kit in a place blocked after damage. Garage with collapsed door, attic with broken stairs.
4. No bedside emergency supplies. Major quakes happen at night.
5. Trusting the doorway myth. Updated FEMA guidance: drop-cover-hold-on, NOT doorway.
6. Ignoring tsunami protocol on the coast. 30 seconds of strong shaking near coast = move inland NOW.
7. Lighting candles after. Gas leaks make this potentially fatal.
8. Taking elevator after shaking stops. Aftershocks can trap you.
Final thoughts
Earthquake prep is the discipline of doing the work before there’s any reason to. The water heater you strap today saves your house from a 30-day fire next year. The shoes by your bed save your feet from broken glass. The kit in the closet keeps your family fed when stores close.
If you live in any seismic zone, treat earthquake preparation as routine maintenance: every spring, refresh the kit, check the straps, practice drop-cover-hold-on with the kids. It takes one weekend a year.
When the shaking starts, you’ll be glad you did.
For full preparation, our emergency preparedness ultimate guide covers the complete picture. And our 72-hour family kit handles the supplies side.
Information is for educational purposes. In real emergencies, follow guidance from FEMA, USGS, your state emergency management agency, and 911.
EmergencyKitLab participates in the Amazon Services LLC Associates Program. When you buy through our links, we earn a small commission at no extra cost to you.
Looking for products mentioned in this article?
Products reviewed by our team on Amazon, all rated 4+ stars.
Emergency preparedness editorial team
The EmergencyKitLab editorial team. Emergency logistics specialists and first responders. We write from real-world experience with supply disruptions and natural disasters.
Frequently Asked Questions
Where is earthquake risk highest in the US?
What should I do during an earthquake?
How long after an earthquake until aftershocks stop?
What should an earthquake go-bag contain?
Should I shut off my gas after an earthquake?
Related Articles
72-Hour Emergency Kit 2026: Checklist + Budget (Family)
EmergencyKitLab 2026 guide: complete 72-hour kit checklist from $50/person. Winter Storm Uri-tested tips + the #1 water mistake families still make.
15 min readBest Portable Power Stations for Emergency Power 2026
From 300Wh apartment units to 2000Wh whole-home backup. Real watt-hours, runtime by appliance, and which size fits your home and emergency.
9 min readFamily Evacuation Plan 2026: Step by Step
Escape routes, meeting point, roles for each person, and practice drill: create your family evacuation plan step by step and act before the emergency arrives.
9 min read